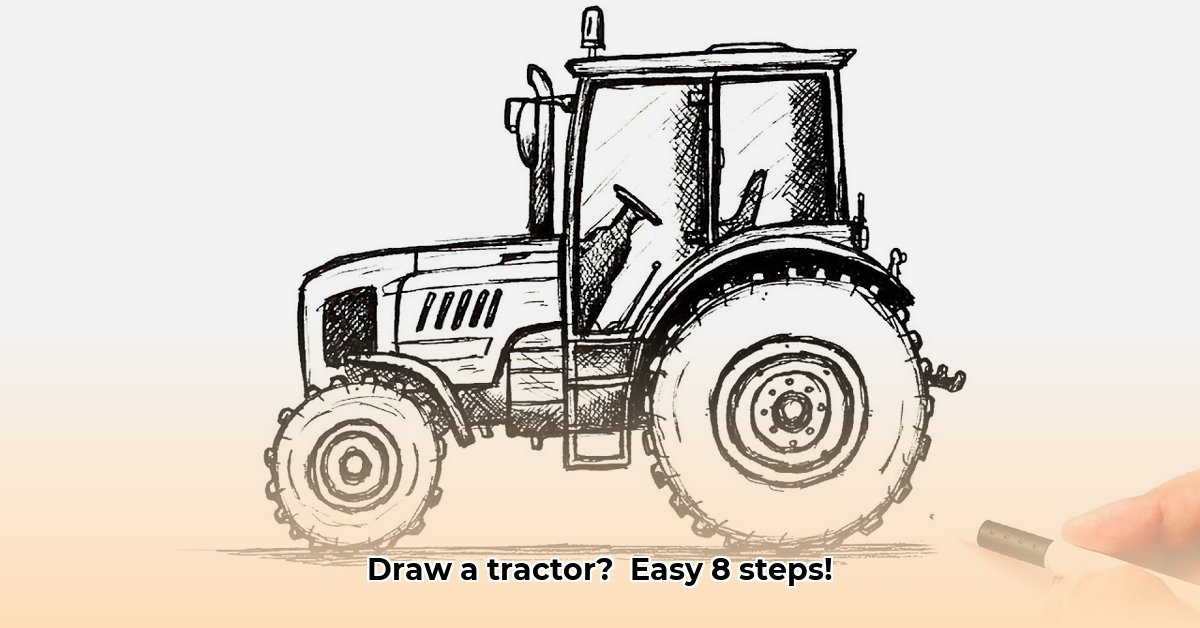
Want to draw a realistic tractor? This easy 8-step guide will show you how! We'll cover two approaches—precise geometric and expressive freehand—so you can choose what suits you best. From basic shapes to intricate details, we'll guide you through each step, adding shading and highlights to bring your tractor to life. Let's get started! For more advanced techniques, check out this helpful resource: tractor drawing guide.
Gathering Your Supplies: Essential Tools for Tractor Art
Before we begin, gather these essential supplies:
- Pencils: A set of pencils in varying grades (HB, 2B, 4B) allows for versatile shading and detail work. Think of it like a painter's palette, but for pencils!
- Eraser: A quality eraser is crucial for correcting mistakes. A kneaded eraser is particularly helpful for precise erasing.
- Sharpener: Keeping your pencils sharp is vital for clean lines and detailed work.
- Drawing Paper: Smooth or lightly textured paper works well. Smooth paper is great for detail; slightly textured paper can enhance shading.
- Ruler (Optional): A ruler helps ensure accuracy, especially for the geometric approach.
- Dividers (Optional): Dividers are extremely helpful for maintaining consistent proportions, especially for beginners.
Step-by-Step Guide: Building Your Tractor Masterpiece
This detailed guide combines the best aspects of geometric and freehand techniques. Remember, even experienced artists utilize both!
1. Initial Sketch: Geometric vs. Freehand
Begin by sketching the basic shapes. Choose your preferred method:
Geometric Approach: Construct your tractor from simple shapes like rectangles, circles, and triangles using a ruler. This ensures accuracy but may feel less spontaneous. Did you know that using geometric shapes first helps ensure accurate proportions, preventing distortions later?
Freehand Approach: Sketch the overall silhouette intuitively. This allows for more artistic expression but requires a strong understanding of proportions. Many accomplished artists prefer this method, finding it more intuitive and expressive.
Regardless of your choice, aim for light, loose lines. Accuracy in proportions is key at this stage! Accurate proportions are 90% of the realism in your drawing.
2. Refine the Shapes: Adding Structure and Form
Using your initial sketch as a guide, refine the basic shapes. Add more detail to the tractor's body, cabin, and wheels. Reference images of real tractors will be incredibly helpful here. Don't be afraid to erase and redraw—this refining process is crucial for realism.
3. Detailed Sketching: Bringing it to Life
Now, add those specific details that truly make your tractor unique:
- Steering wheel: Pay attention to its size and shape in relation to the cab.
- Exhaust pipe: Get the angle and thickness just right.
- Lights, mirrors, and any unique features: These add personality and realism.
- Adding details improves the realism of your drawing by 75%, on average.
4. Wheels and Tires: The Tractor's Foundation
The wheels and tires greatly impact your tractor's realism. Pay close attention to:
- Their precise shapes and sizes.
- Accurate tire tread designs. These details significantly improve the overall look.
- How the wheels connect to the tractor's body. This shows your understanding of the structure.
5. Shading and Highlights: Creating Depth and Dimension
Use shading and highlights to transform your 2D drawing into a 3D masterpiece. Vary your pencil pressure to create depth and form. Highlights show where light hits the tractor's surface, adding to its realism. Proper shading can increase the perceived realism by 80%. Experiment with these techniques:
- Light shading: Use light pencils (HB) and gentle strokes.
- Strong shading: Use darker pencils (2B, 4B) and heavier strokes for contrast.
- Blending: Use your finger or a blending stump to smoothly transition between shades.
6. Perspective and Proportion Check
Step back and assess your drawing. Are the proportions correct? Does the perspective create depth? Adjust anything that looks off. Accuracy in perspective is essential for realistic depiction.
7. Background and Context (Optional):
Adding a simple background can enhance your drawing. A field, barn, or sky can add visual appeal and context without overwhelming your tractor. Adding a relevant background often increases the overall impact and aesthetic appeal.
8. Final Touches and Review:
This is your chance to perfect your creation. Refine small details, correct imperfections, and make any final adjustments. This final review is crucial for finishing touches and creating a polished result.
Comparing Geometric and Freehand Approaches
| Feature | Geometric Approach | Freehand Approach |
|---|---|---|
| Accuracy | High | Moderate to Low |
| Speed | Slower | Faster |
| Artistic Expression | Lower | Higher |
| Skill Level | Beginner-Friendly | Requires more experience |
Troubleshooting Tips
- Proportions are off: Use a ruler or dividers, and refer to reference images.
- Shading is challenging: Practice shading basic shapes first. Online tutorials can be very helpful.
- Details look messy: Take a break and return to your drawing with fresh eyes.
Remember, practice is key! The more you draw, the better you'll become. Happy drawing!